Specular Highlight Lighting
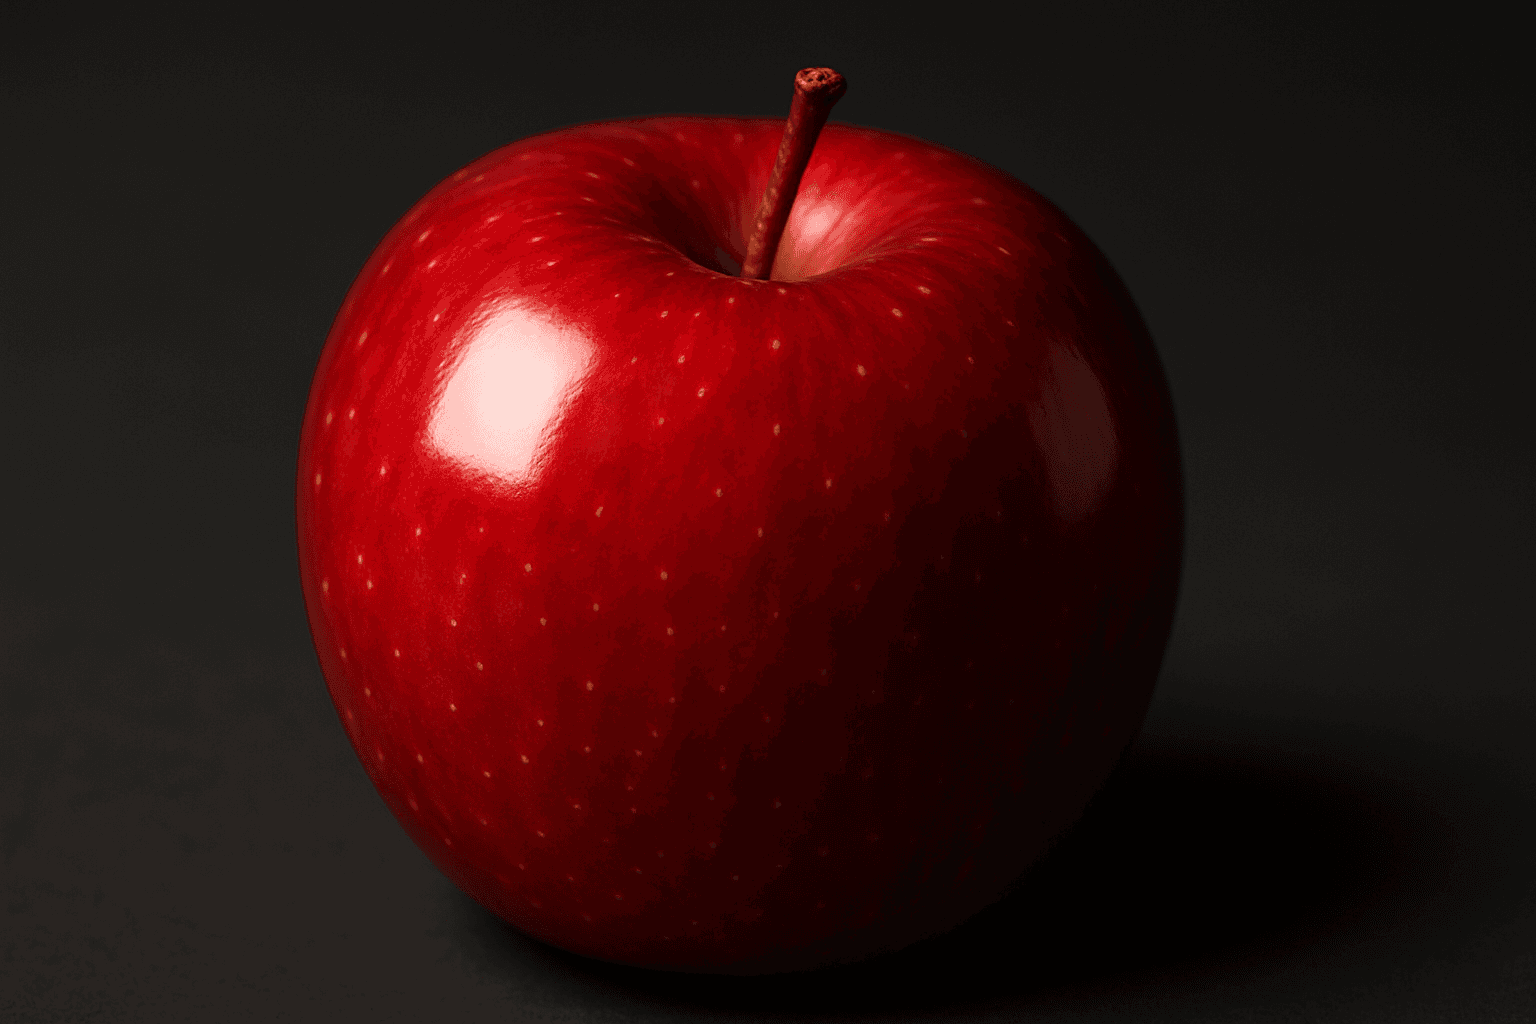
Specular Highlight Lighting plays a crucial role in rendering images with realistic shininess and depth by simulating light's direct reflections on surfaces. When incorporated into AI image prompts, it guides the model to focus on creating small, bright spots or streaks of light that mimic how light behaves on polished objects like metals, glass, or wet surfaces. This lighting effect adds visual richness, conveys surface properties, and elevates the overall realism of computer-generated images. Designers and artists leverage specular highlights to make materials pop and to direct viewer attention to key image areas. Understanding how to prompt effectively for specular highlights is essential for producing premium-quality renders and photographic styles.
Definition
Specular Highlight Lighting is the bright and sharp reflection seen on shiny or polished surfaces when illuminated by a light source. For AI image creators, adding this keyword tells the model to simulate such reflections, thereby enhancing the material realism of surfaces in generated images. It changes an image prompt by focusing on how light interacts with high-gloss or reflective materials to create small, bright spots that imply smoothness and depth.
Visual Characteristics
- Concentrated bright spots or streaks of light on smooth surfaces
- Enhanced perception of glossiness and surface texture
- Reflections that outline surface contours and curvature
Prompt Formula
To effectively incorporate Specular Highlight Lighting in AI prompts, combine descriptive material terms with lighting cues. For example, use phrases like "shiny metal surface with specular highlight lighting," "glossy wet skin illuminated by strong specular highlights," or "reflective glass object with crisp specular highlights." This pattern emphasizes both the material properties and the lighting effect, guiding the model toward realistic reflections.
Best Use Cases
- Product shots of reflective or polished merchandise
- Nature or environment scenes with water or wet surfaces
- Fashion and portrait photography highlighting shiny textures
Creative Variations
To avoid repetitive outputs when using Specular Highlight Lighting, experiment with variations in style, color, and composition. Try warm versus cool color temperature for the highlights to evoke different moods. Adjust the size and intensity of highlights for subtle or dramatic effects. Combine with directional lighting to create interesting shadow interplay. Additionally, play with subjects that feature diverse reflective materials like chrome, water, or glossy fabrics to broaden visual variety.
- Change highlight color temperature: warm golden vs cool blue
- Vary highlight intensity: soft glow vs sharp gleam
- Mix with other lighting styles: backlighting, rim lighting
- Use on different materials: glass, metal, water, skin
- Compose with multiple light sources producing layered highlights
Professional Workflow
A streamlined professional workflow involving Specular Highlight Lighting begins with a clear briefing that specifies the desired reflective quality and material. Then, generate variants focusing on highlight sharpness and placement. Evaluate generated images to select those where highlights best reinforce the material realism without overpowering. Refine prompts by tweaking light descriptions or material adjectives, incorporating feedback for iteration. Final steps involve subtle image post-processing to enhance highlights or balance overall lighting, ensuring a polished output ready for use.
Related Styles
- Glossy Surface Lighting
- Reflections and Refractions
- Studio Lighting Effects
Model-Specific Tips
Different AI image models interpret Specular Highlight Lighting uniquely. To maximize effect portability, always pair the keyword with descriptive material or lighting modifiers, such as "sharp," "bright," or specific surface types like "metallic" or "wet." Use concise, natural language to maintain compatibility across models. Avoid overly complex or contradictory lighting instructions that might confuse the model. Experiment with modifiers like "photorealistic" or "high detail" to further enhance the appearance of highlights consistently across platforms.
FAQ
How does Specular Highlight Lighting improve AI-generated images?
It simulates realistic light reflections on shiny surfaces, adding depth, texture, and focal interest that enhance image realism and visual appeal.
Can Specular Highlight Lighting be used for all material types?
It is most effective for materials that naturally reflect light sharply, such as metals, glass, water, and polished surfaces, less so for matte or diffuse materials.
Continue Exploring
Related Prompts
Studio Lighting Setup Guide
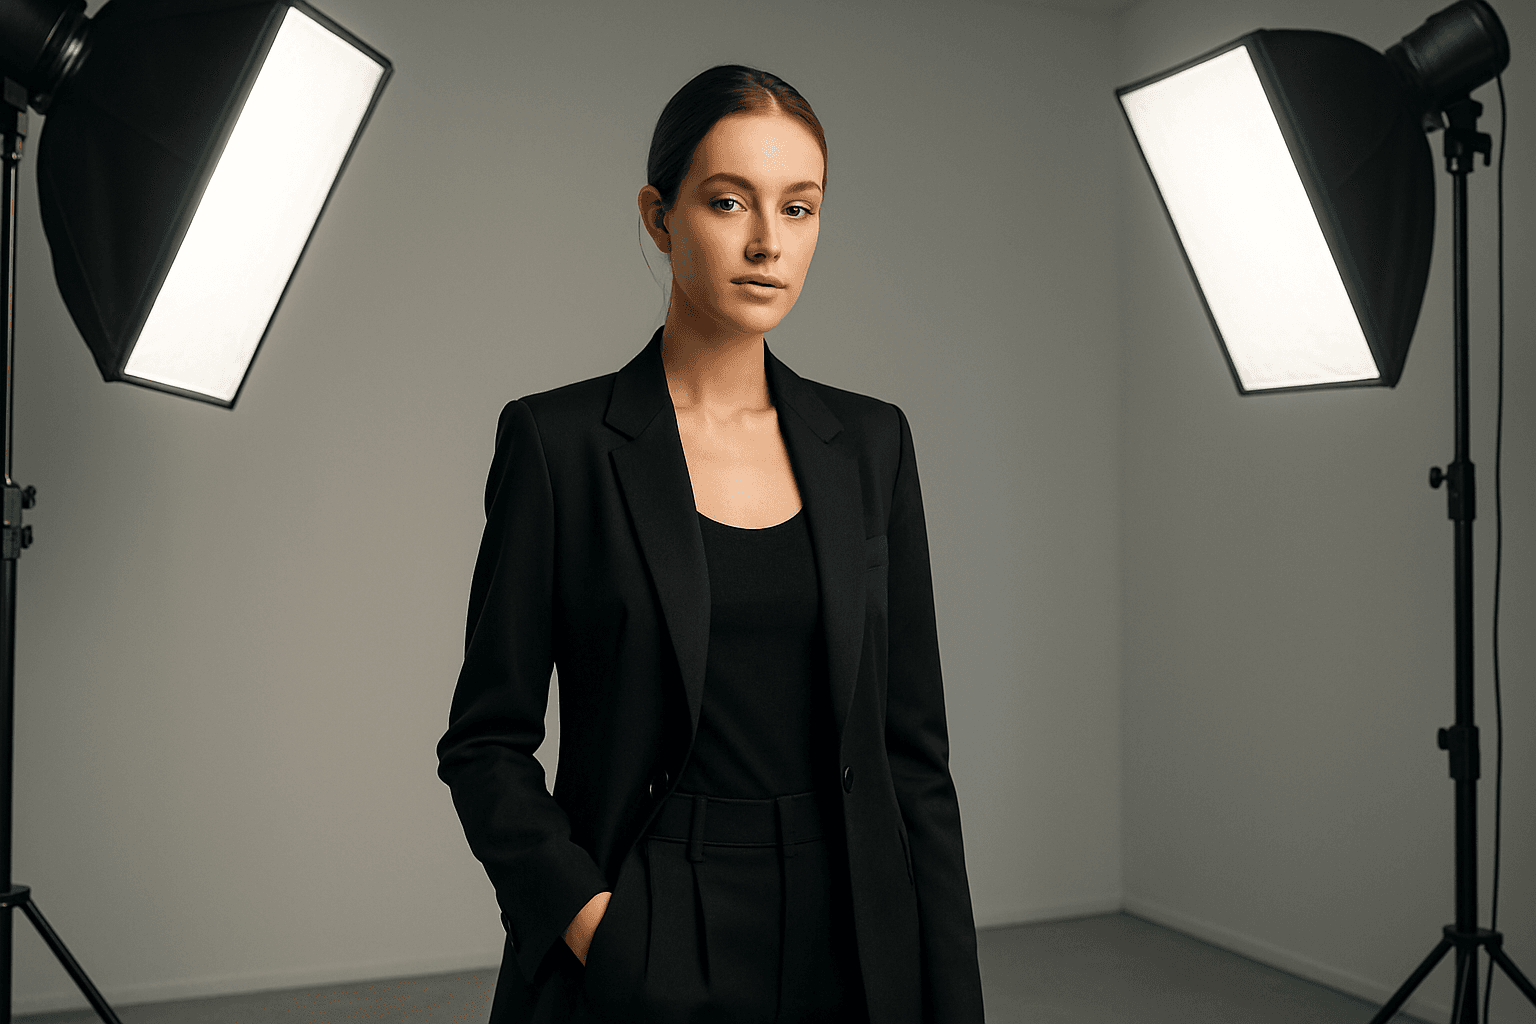
In AI image generation, incorporating 'Studio Lighting Setup Guide' helps emulate the controlled lighting environment typical of photography studios. This setup ensures subjects are well-defined with nuanced shadows and highlights, enhancing realism and artistic quality. Professional studio lighting involves key light, fill light, and backlight positioned strategically to model the subject beautifully. When used as a prompt keyword, it communicates to the AI how to place such lighting, resulting in images that appear polished and editorial-grade. This is essential for generating product shots, portraits, or commercial visuals that require a premium look.
Backlit Rim Lighting
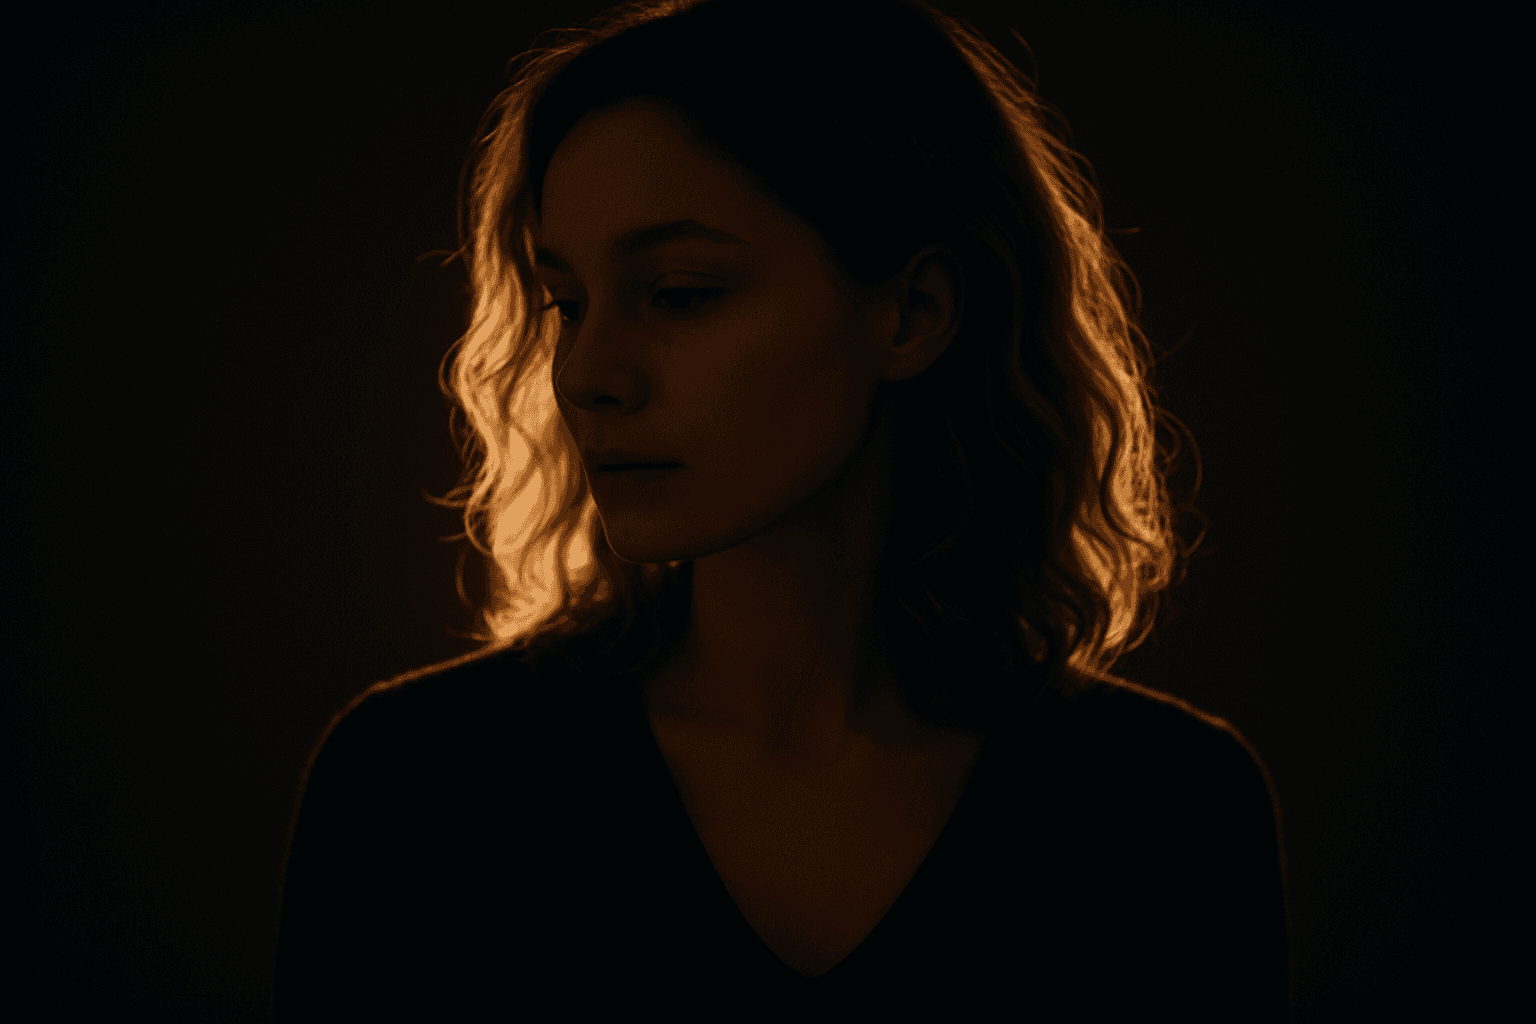
Backlit Rim Lighting offers a striking way to emphasize shapes and contours by placing light sources behind the subject. This technique casts a luminous halo or rim around the edges, enabling clear subject separation from backgrounds even if they are dimly lit. In AI-generated images, prompts including this term encourage models to simulate realistic lighting setups that heighten drama, depth, and visual interest. Artists and photographers often use this style to evoke mood or highlight subject textures through translucent or reflective surfaces. Incorporating Backlit Rim Lighting in image generation can instantly transform compositions, lending premium polish suitable for editorial, cinematic, and commercial visuals.

High Key Lighting Setup
High Key Lighting Setup transforms the mood and clarity of an image by emphasizing brightness and reducing harsh shadows. This style is known for its airy, clean, and polished aesthetic that enhances softness and detail. In AI image generation, specifying a high key lighting setup helps evoke feelings of freshness, positivity, and elegance, making images appear bright and inviting. It effectively highlights textures and color purity without dramatic shadows, which suits product photography, portraits, and editorial uses where a crisp, premium look is desired. Understanding and applying high key lighting keywords in prompts ensure consistent outputs aligned with this visual ethos.
High Dynamic Range Lighting
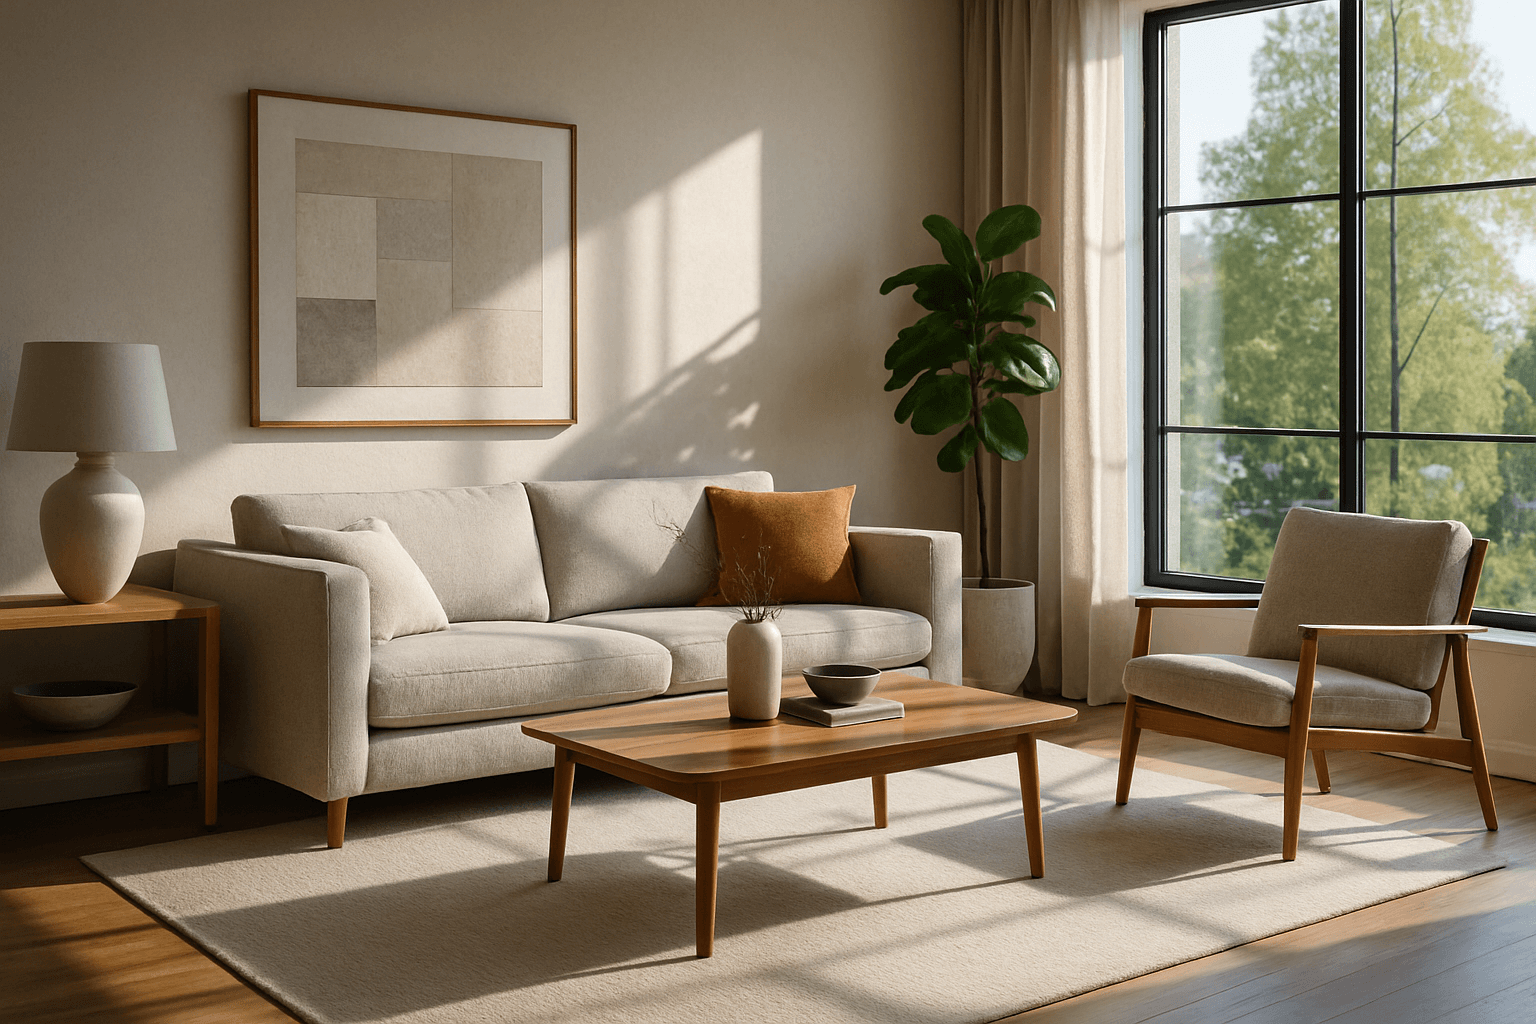
High Dynamic Range Lighting (HDR Lighting) elevates AI-generated images by mimicking the natural spectrum of light intensity present in real-world environments. This lighting style captures a broad range of brightness, preserving details in both shadows and highlights that might otherwise be lost. When integrated into AI prompts, HDR Lighting contributes to images that feel more immersive, dramatic, and visually striking. It is especially beneficial for scenes involving complex lighting situations like sunsets, indoor interiors with windows, or reflective surfaces. Artists and creators looking to create premium-quality renderings with photorealistic depth often rely on HDR Lighting to add a compelling sense of realism and sophistication to their work.

Low Angle Lighting
Low angle lighting is a powerful photographic and artistic technique that shifts the viewer's perspective by lighting subjects from below. When integrated into AI image prompts, it helps generate images with a distinct, often dramatic mood and added dimensionality. This lighting arrangement mimics natural scenarios like sunrise or artificial lighting such as street lamps from ground level. Due to its uncommon viewpoint, low angle lighting enhances textures and contours by reversing traditional shadow placement, producing striking images ideal for editorial portraits, architectural shots, and dynamic compositions. Leveraging this keyword allows creators to break away from standard lighting styles and evoke more intriguing atmospheres in synthetic visuals.

Directional Side Lighting
Directional side lighting is a powerful lighting technique widely used in photography and digital art to add dimensionality and mood. In the context of AI image generation, specifying directional side lighting shapes how the model simulates light interaction with subjects and environments. This lighting style creates pronounced contrasts between illuminated and shaded areas, resulting in images with realistic depth and enhanced visual interest. It is especially effective for emphasizing textures and defining shapes in portraits, still life, architectural renders, and product shots. Using this lighting approach in AI prompts helps generate more polished and professional visuals suitable for editorial and commercial use.